
[Dynamics 365]簡単なプラグインサンプル PostOperation
2017/5/24 TTN
今回は「簡単なプラグインサンプル PostOperation」という事で
営業案件で、シンプルに登録後、活動エンティティの電子メールエンティティ作成を自動で行う
プラグインの作成手順を記載します。
[Dynamics 365] プラグインの概要にも記載がありましたが、
PostOperationのプラグインは、実際にエンティティにデータが登録された後にイベント発生します。
PostOperationには、特に別エンティティデータの自動設定等を記載します。
1 プラグインの作成
1.1 クラスの追加
[Dynamics 365]簡単なプラグインサンプル PreValidationで作成した「Myplugin」プロジェクトを
VisualStudioで開きます。
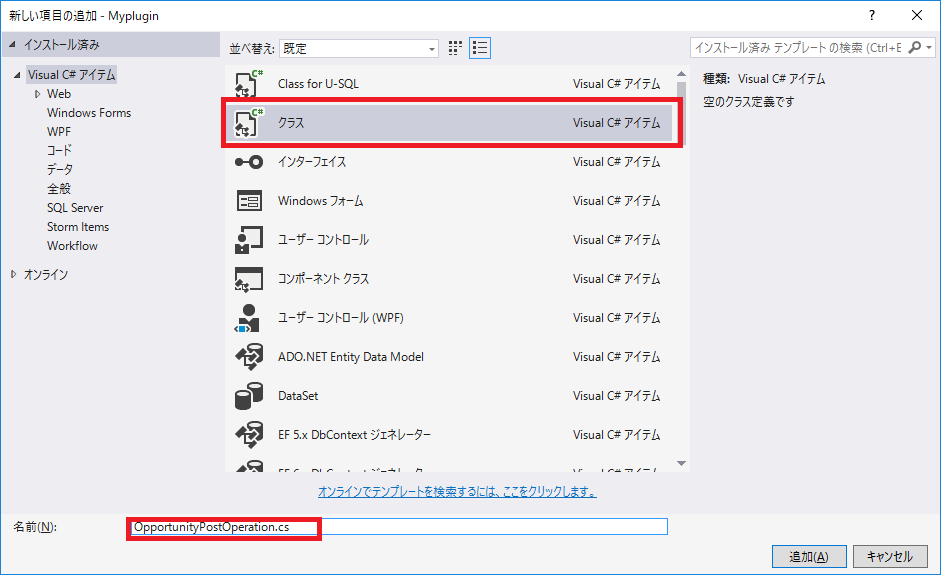
ソリューションエクスプローラーのOpportunityフォルダを右クリック、
「新しい項目の追加」または「クラス」を選択して新規クラスファイルを作成します。
クラスファイル名はOpportunityPostOperationという名前で作成します。

(↑クリックすると拡大表示されます)
(↑クリックすると拡大表示されます)
新規プロジェクトから作成する場合は
[Dynamics 365]簡単なプラグインサンプル PreValidationの「1.1 ソリューションの作成」をご参照ください。
1.2 プラグインの実装
追加したクラスファイルを開き、下記のコードを書き込みます。
営業案件登録後に、登録データを基にした電子メールレコードを自動生成します。
[code]using System;
using System.Text;
using Microsoft.Xrm.Sdk;

namespace Myplugin
{
    /// <summary>
    /// 営業案件PostOperation
    /// </summary>
    public class OpportunityPostOperation : IPlugin
    {
        /// <summary>
        /// プラグイン実行時ハンドラー(IPluginの抽象メソッド)
        /// </summary>
        public void Execute(IServiceProvider serviceProvider)
        {
            // 入力パラメタ情報を取得します。
            IPluginExecutionContext context =
                serviceProvider.GetService(typeof(IPluginExecutionContext))
                                              as IPluginExecutionContext;

            // IOrganizationService作成用のインスタンスを取得します。
            IOrganizationServiceFactory serviceFactory =
                serviceProvider.GetService(typeof(IOrganizationServiceFactory))
                                              as IOrganizationServiceFactory;
            // IOrganizationServiceFactoryから
            // 組織インスタンスを取得します。
            IOrganizationService service =
                serviceFactory.CreateOrganizationService(context.UserId);

            // 営業案件登録後、社内向け電子メールのレコードを自動生成する。
            CreateMail(context, service);
        }

        /// <summary>
        /// 社内向け電子メールレコードの自動生成
        /// </summary>
        /// <param name="context">入力パラメタ</param>
        /// <param name="service">組織インスタンス</param>
        private void CreateMail(IPluginExecutionContext context, IOrganizationService service)
        {
            // エンティティ情報がない場合は処理を抜ける
            if (!context.InputParameters.Contains("Target")
                || !(context.InputParameters["Target"] is Entity))
            {
                return;
            }
            try
            {
                // 入力パラメタからEntityを取得
                Entity oppoturnity = context.InputParameters["Target"] as Entity;
                // 電子メールエンティティのインスタンスを生成
                Entity email = new Entity("email");
                // メール本文用StringBuilderを生成
                StringBuilder description = new StringBuilder();


                // 1.メールエンティティのインスタンス作成。
                //  インプット情報から電子メールのフィールドの値を設定

                // (1)件名
                if (oppoturnity.Attributes.Contains("name"))
                {
                    email["subject"] = "案件情報:" + oppoturnity.Attributes["name"].ToString();
                }

                // (2)本文
                // ・営業案件名
                if (oppoturnity.Attributes.Contains("name"))
                {
                    description.Append("■案件名<BR> ");
                    description.Append(oppoturnity.Attributes["name"].ToString());
                    description.Append("<BR><BR><BR>");
                }

                // ・取引先企業
                if (oppoturnity.Attributes.Contains("parentaccountid"))
                {
                    Guid id = new Guid(
                        ((EntityReference)(oppoturnity.Attributes["parentaccountid"])).Id.ToString());

                    Entity parentaccount = service.Retrieve
                                           ("account", id, new Microsoft.Xrm.Sdk.Query.ColumnSet("name"));

                    description.Append("■取引先企業<BR> ");
                    description.Append(parentaccount.Attributes["name"].ToString());
                    description.Append("<BR><BR>");
                }
                // ・確率
                if (oppoturnity.Attributes.Contains("closeprobability"))
                {
                    description.Append("■確率<BR> ");
                    description.Append((oppoturnity.Attributes["closeprobability"]).ToString());
                    description.Append("%<BR><BR>");
                }
                // ・現在の状況
                if (oppoturnity.Attributes.Contains("currentsituation"))
                {
                    description.Append("■現在の状況<BR> ");
                    description.Append(oppoturnity.Attributes["currentsituation"].ToString());
                    description.Append("<BR><BR>");
                }
                // ・顧客ニーズ
                if (oppoturnity.Attributes.Contains("customerneed"))
                {
                    description.Append("■顧客ニーズ<BR> ");
                    description.Append(oppoturnity.Attributes["customerneed"].ToString());
                    description.Append("<BR><BR>");
                }
                email["description"] = description.ToString();

                // 2.作成したインスタンスを
                //   メールエンティティの新規レコードとして登録
                service.Create(email);
            }
            //例外発生時
            catch (Exception ex)
            {
                // プラグイン専用の例外スロークラスに値を渡す
                throw new InvalidPluginExecutionException
                    ("An error occurred in the FollowupPlugin plug-in.", ex);
            }
        }
    }
}
[/code]
1.3.署名の設定
署名は1プロジェクトに1つで問題ありませんので、
PreValidationで作成した署名ファイルが既にあれば再設定は必要はありません。
プロジェクトにMypluginKey.pfxが無い方は、
[Dynamics 365]簡単なプラグインサンプル PreValidationの「1.3.署名の設定」をご参照ください。
ビルド時にキーファイルのエラーとなる場合は、
ソリューションエクスプローラーのプロジェクト右クリック、「プロパティ」を選択します。
左の署名タブをクリックし、「パスワードの変更」から
前回設定したパスワードを設定し直してください。
2.プラグインのデプロイ
営業案件新規登録時に、プラグインが実行されるように、
PluginRegistrationToolを使用して、プラグインを登録します。
[Dynamics 365]プラグインの登録を
参考に登録を進めてください。
3.動作確認
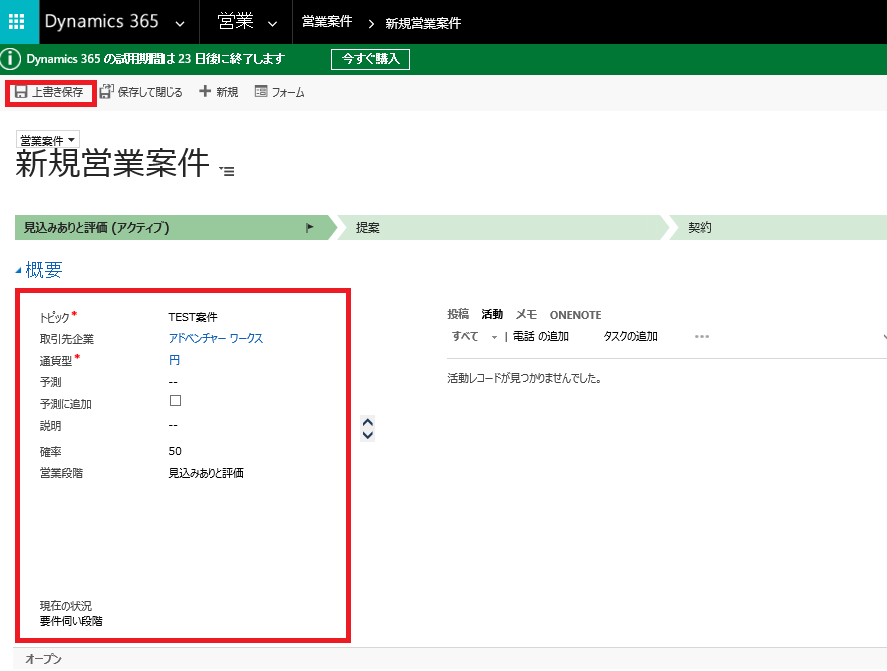
営業案件の新規ボタンを押下します。
下記の通り各フィールドの値を設定し、上書き保存を押下します。
トピック : TEST案件
取引先企業 : テスト用データ
確率 : 50
現在の状況 : 要件伺い段階
顧客ニーズ : 顧客管理システム構築
(↑クリックすると拡大表示されます)
作成した営業案件を基に、活動エンティティの電子メールデータが自動作成されます。

(↑クリックすると拡大表示されます)
以上がDynamics365向けの簡単なPostOperationプラグインの作成手順になります。
ワークフロー業務基盤「じょうできmFIND」